
To install shimano gear shifter, first, remove the old shifter and cables. Then install the new shifter and cables following the manufacturer’s instructions.
The shimano gear shifter is an important component of any bicycle, allowing the rider to easily change gears and adapt to different terrain and riding conditions. Whether you are upgrading your bike or replacing a damaged shifter, installing a shimano gear shifter can be an easy and straightforward process.
However, it is important to follow the manufacturer’s instructions carefully to ensure proper installation and optimal performance. In this article, we will guide you through the steps to install a shimano gear shifter on your bike. We will cover the tools and materials needed, as well as provide detailed instructions for removing the old shifter and cables, installing the new one, and adjusting it for optimal performance.
Credit: nsmb.com
Understanding The Shimano Gear Shifter: Types, Components, And Common Issues
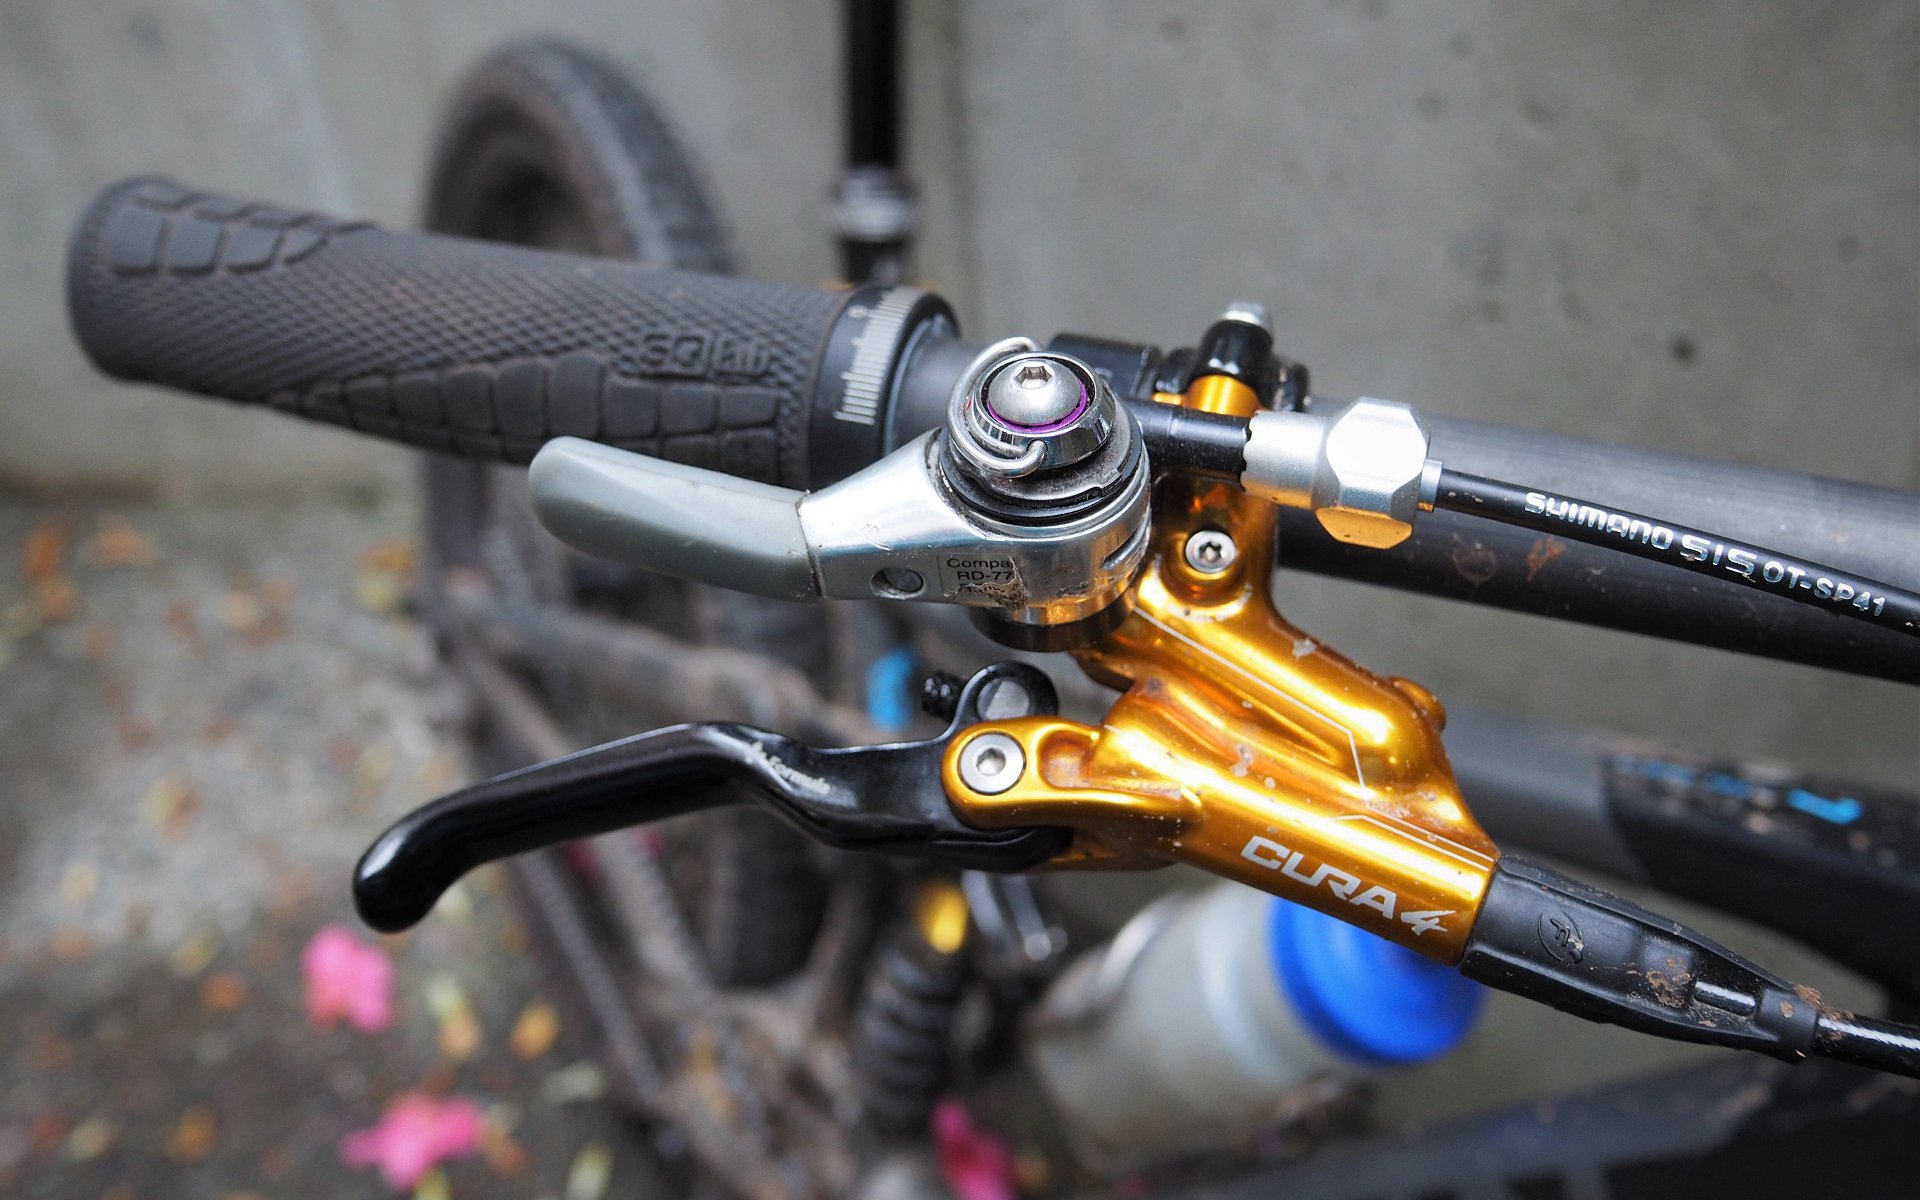
The shimano gear shifter is a crucial component of any bike. It’s responsible for changing gears, which is essential for maintaining speed and conserving energy during long rides or challenging terrain. When installing a shimano gear shifter, it’s important to understand the different types of shifters, their components, and the common issues that you may encounter.
Types Of Shimano Gear Shifters: Mechanical Vs Electronic
There are two types of shimano gear shifters: mechanical and electronic. Mechanical shifters operate by shifting a cable manually, allowing the rider to change gears. Electronic shifters use a battery-powered motor to shift gears more quickly and precisely.
Here are the key differences between mechanical and electronic shimano gear shifters:
Mechanical Shimano Gear Shifters:
- Operate by shifting a cable manually
- Require more maintenance, as cables can stretch and wear out over time
- Offer a more tactile ride with greater feedback from the gears
- Are generally less expensive than electronic shimano gear shifters
Electronic Shimano Gear Shifters:
- Use a battery-powered motor to shift gears more quickly and precisely
- Require less maintenance, as there are no cables that can stretch or wear out
- Offer a more precise and consistent shifting experience
- Are generally more expensive than mechanical shimano gear shifters
Components Of The Shimano Gear Shifter: Brake Lever, Shift Lever, Cable, Housing, Derailleur
The shimano gear shifter is made up of several components that work together to change gears. These components include:
Brake Lever:
- Used to operate the brakes and shift gears
- Mounted on the handlebar
- Can be integrated with the shimano gear shifter, creating a more streamlined look
Shift Lever:
- Used to change gears
- Can be mounted on the frame or integrated into the brake lever
Cable:
- Connects the shimano gear shifter to the derailleur
- Transfers the force from the shift lever to the derailleur, which shifts the gears
- Can stretch or wear out over time, which can affect shifting performance
Housing:
- Protects the cable from dirt and moisture
- Guides the cable along the frame to the derailleur
Derailleur:
- Moves the chain between gears
- Controlled by the shimano gear shifter
Common Issues Faced During Installation: Misalignment, Cable Tension, Compatibility
When installing a shimano gear shifter, it’s important to be aware of some common issues that you may face. These include:
Misalignment:
- Can occur if the shimano gear shifter is not mounted correctly
- Can cause the gears to shift improperly or not at all
Cable Tension:
- Needs to be adjusted properly
- Too much tension can cause the gears to shift poorly or not at all
- Too little tension can result in the same issues
Compatibility:
- Not all shimano gear shifters are compatible with all bikes
- Ensure that the shimano gear shifter is compatible with your bike before purchasing
Installing a shimano gear shifter can seem daunting at first, but with the right tools and a bit of practice, it can be done easily. By understanding the different types of shifters, their components, and the common issues that you may face, you’ll be well on your way to a smoother ride.
Remember to always double-check your work and test the gears before heading out for a ride.
Preparing For Installation: Tools And Checklist
Installing a shimano gear shifter can be a daunting task, especially if you’re not familiar with the specific tools and preparations needed for the job. Before starting, it is essential to have the right tools and perform a few checks to ensure the installation goes smoothly.
Here are the essential tools required and the checklist items to consider:
Essential Tools Required: Allen Wrench, Cable Cutters, Pliers, Screwdriver, And Torque Wrench
Having the proper tools for the installation is crucial. Here are the essential tools you need before starting:
- Allen wrench: This tool helps loosen and tighten bolts, making it useful for installing the shifter’s clamp onto the handlebars.
- Cable cutters: To fit the cables to the shifter, you’ll need to trim them to the correct length. Cable cutters are essential to cut the cables neatly and without fraying the ends.
- Pliers: Pliers are useful for crimping the cable ends and adjusting the tension. You can also use them to adjust the derailleur’s limit screws.
- Screwdriver: You’ll need a screwdriver to install the shifter’s cable anchor bolts and adjust the derailleur’s high and low limit screws.
- Torque wrench: It’s essential to tighten bolts to the manufacturer’s recommended torque settings to avoid damaging parts or limiting performance. A torque wrench can help you precisely measure tightening force.
Checklist Before Installation: Frame Compatibility, Groupset Compatibility, And Cable Routing
Apart from the tools required, there are a few essential things to consider before installing the shifter. These are:
- Frame compatibility: Check if your bike’s frame can accommodate the shimano gear shifter you plan to install. Look up the frame’s technical specifications or consult with a bike mechanic to avoid any problems during installation, such as compatibility issues or damage to the frame.
- Groupset compatibility: Ensure that your bike’s drivetrain is compatible with the shimano groupset you plan to install. Check the compatibility charts on the shimano website or consult a bike mechanic if you have any doubts.
- Cable routing: Ensure that your bike’s cable routing fits with the shimano gear shifter you plan to install. Different shifter models have different cable routing requirements. Check the installation manual or consult with a bike mechanic to avoid any problems during installation.
By following these essential tools and the checklist items, you can easily prepare for installing the shimano gear shifter and avoid any hassles or mishaps during the process.
Frequently Asked Questions For How To Install Shimano Gear Shifter
How Do I Remove My Old Gear Shifter?
To remove your old gear shifter, first, remove the shift cable, loosen the clamp bolt, and slide off the old shifter.
How Do I Determine The Correct Gear Shifter Model For My Bike?
You can determine the correct gear shifter model for your bike by checking the compatibility chart or asking a mechanic.
How Do I Install A New Gear Shifter?
To install a new gear shifter, slide it onto the handlebars, tighten the clamp bolt, and attach the shift cable following the instructions.
How Do I Adjust My New Gear Shifter?
To adjust your new gear shifter, shift into the lowest gear, adjust the cable tension, shift up and down to check the tuning.
Conclusion
Installing a shimano gear shifter may seem daunting at first, but with the right tools and steps, it can be an easy and enjoyable process. The key is to approach it methodically and with patience. Start by carefully reading the instructions and getting your tools together.
Take your time as you remove the old shifter and install the new one, checking your work as you go. Once you have everything in place, test the shifter to make sure it’s functioning properly. With a little effort, you’ll have a smoother shifting experience that will enhance your overall enjoyment of cycling.
Keep in mind that if you encounter any difficulties, you can always consult a bike mechanic or online resources for additional guidance. Mastering the art of gear shifter installation is a valuable skill that will benefit you for years to come.